Homemade Granny Cake
- Prepare the Icing:
- In a medium saucepan, combine the evaporated milk, granulated sugar, and unsalted butter. Cook over medium-high heat, stirring occasionally, until the mixture comes to a boil. This step ensures that the sugar fully dissolves and the ingredients meld together into a smooth mixture.
- Once the mixture reaches a boil, remove the saucepan from the heat and stir in the vanilla extract. The vanilla adds a rich, aromatic flavor to the icing.
- Pour the Icing:
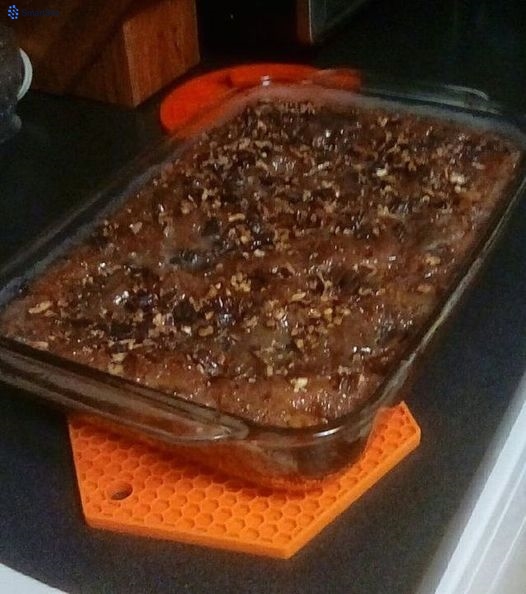
- As soon as the cake is done baking, remove it from the oven. Pour the hot icing evenly over the hot cake, ensuring that it soaks into the cake. This step is crucial as it allows the cake to absorb the icing, making it incredibly moist and flavorful.
- Cool and Serve:
- Allow the cake to cool in the pan. As it cools, the icing will be absorbed fully, enhancing the cake’s texture and taste.
- Once cooled, slice the cake into squares and serve. The cake can be enjoyed warm or at room temperature, and it pairs wonderfully with a cup of coffee or a scoop of vanilla ice cream.
Tips and Variations
- Nut Substitutes: If you’re not a fan of pecans or have allergies, you can substitute them with walnuts or leave them out entirely.
- Coconut Twist: For an extra layer of flavor, you can add a handful of shredded coconut to the batter or sprinkle it on top before baking.
- Storage: Store the cake in an airtight container at room temperature for up to three days. For longer storage, keep it in the refrigerator for up to a week.
- Serving Suggestions: This cake is delicious on its own, but you can also top it with a dollop of whipped cream or a scoop of vanilla ice cream for an extra special treat.
Homemade Granny Cake is a comforting, nostalgic dessert that is sure to bring smiles to anyone who tastes it. Its simplicity, combined with its rich, moist flavor, makes it a timeless classic that you’ll want to make again and again. Enjoy this delightful cake and the sweet memories it evokes!