Crockpot Christmas Crack
- Prepare the Slow Cooker
To begin, place the unsalted and salted peanuts at the bottom of the slow cooker. This ensures an even distribution of flavors and provides a crunchy base for the candy clusters. The mix of unsalted and salted peanuts helps to balance the overall taste, preventing the treat from becoming too salty or bland. - Add the Peanut Butter Chips
Next, spread the peanut butter chips evenly over the peanuts. As they melt, these chips will blend with the peanuts to create a rich, nutty base that complements the chocolate layers to come. - Layer the Chocolate Chips
Add a layer of semi-sweet chocolate chips followed by milk chocolate chips. This combination provides a rich and creamy chocolate flavor that complements the salty peanuts and sweet peanut butter chips. The mix of semi-sweet and milk chocolate ensures that the overall flavor is not overly sweet, striking a perfect balance. - Top with White Chocolate
Place the white chocolate bark or candy wafers on top. The white chocolate adds a sweet and creamy element that contrasts nicely with the other chocolates, adding depth to the overall flavor profile. - Cook and Stir
Cover the slow cooker with the lid and set it to cook on low for 1 hour. This gentle heat allows the chocolates and chips to melt slowly, preventing them from burning and ensuring a smooth consistency.
After 1 hour, remove the lid and stir the mixture well. This step ensures that all the ingredients are evenly combined, creating a uniform candy mixture.
Replace the lid and cook on low for an additional 30 minutes. This extra time helps to thoroughly melt and blend all the ingredients, ensuring a consistent texture and flavor throughout. - Form the Candy Clusters
Once the mixture is fully melted and well combined, use a tablespoon to drop spoonfuls of the mixture onto pieces of parchment paper. This step helps in forming the clusters, and the parchment paper prevents sticking, making it easier to handle and store the candy.
Allow the candy clusters to harden and set for several hours. This step is crucial for achieving the right texture, as it allows the candies to firm up, making them easier to handle and store. - Store or Serve
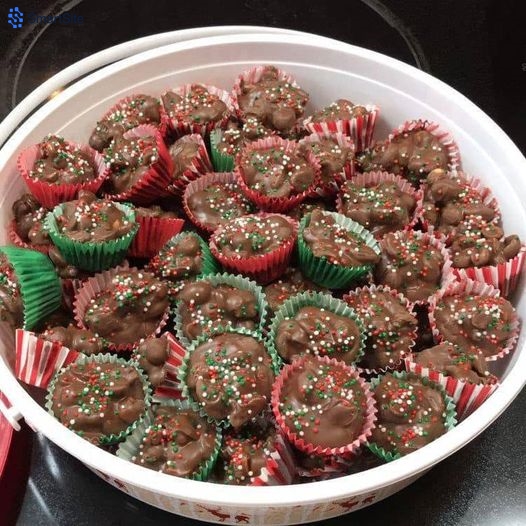
Once the candy clusters are fully set, you can serve them immediately for a delightful Christmas treat. They are perfect for holiday gatherings, adding a festive touch to your dessert table.
Store any leftovers in an airtight container to maintain their freshness and prevent them from becoming sticky. These candies can also be frozen for future enjoyment. Simply place them in a freezer-safe container to avoid freezer burn and store them in the freezer for up to three months.
Tips for the Best Crockpot Christmas Crack
- Use Fresh Ingredients: Ensure your peanuts and chocolate chips are fresh to achieve the best flavor and texture. Stale ingredients can negatively affect the taste and quality of the final product.
- Don’t Overcook: Be mindful not to overcook the mixture, as this can cause the chocolate to seize or burn. Cooking on low heat and monitoring the time closely will help prevent this issue.
- Experiment with Toppings: Consider adding festive sprinkles, crushed candy canes, or a sprinkle of sea salt to the tops of the clusters before they set for an extra touch of holiday cheer. These additions can add both visual appeal and extra layers of flavor.
- Storage: Store the candy clusters in a cool, dry place to keep them from melting or becoming sticky. If you live in a warm climate, consider refrigerating the clusters to maintain their firmness.
This Crockpot Christmas Crack is not only delicious but also incredibly easy to make, making it a perfect choice for busy holiday seasons. The combination of sweet and salty flavors, along with the rich, creamy texture, makes it a favorite among both kids and adults. Whether you’re serving it at a holiday party or enjoying it as a festive snack, this treat is sure to bring a bit of extra cheer to your holiday celebrations. Enjoy making and sharing this delightful recipe with your loved ones!